|
This guide details the removal of the intercooler and upper intake manifold (UIM) with throttle body. Removing the UIM allows
access to the fuel line, letting you check for leaks. It also opens up access to many of your vacuum hoses so you can replace
them. It may seem a very daunting task at first, but it is not too hard actually. It takes me approxiamately 1 hour to remove
and probably shorter to install. The first time will take longer, and I spent a day or two cleaning up all my parts. Very
good stuff.
Tools you need:
- socket wrench - 8mm, 10mm, 12mm, maybe some others
- pliers - for removing stuck tubes
- silicon grease - for removing stuck tubes - MAGICAL!
- some prying-type tool (like a big screwdriver)
And some materials:
- 3/8" fuel line for your replacement 90 degree coolant hose
In short, you remove the following:
- Intercooler (4 bolts, 2 vacuum hoses, 2 big pipes) / Big pipe in back
- Connectors A, B, C, D
- 3 vacuum hoses in front
- remove that paper-clip type thing right next to them
- coolant hose on the passenger's side
- accelerator and cruise control cable if you have it
- 3 vacuum hoses in the back
- hose in the back on the wall
- remove 4 nuts on the passenger's side
- remove long screw on the top
- loosen nut on the driver's side
- bend back the little metal thing on one of the nuts
- slowly pry the UIM up until you wiggle it off the bolts
- as you pry, need to remove another hose next to the coolant house on the passenger's side
- now, there's a really tricky coolant hose (very short) hat is beneath the UIM, connecting it to the engine - very hard
to remove - i replaced it with a longer hose
- then you can remove connector E very easily (wiring has decent length)
- you're done!

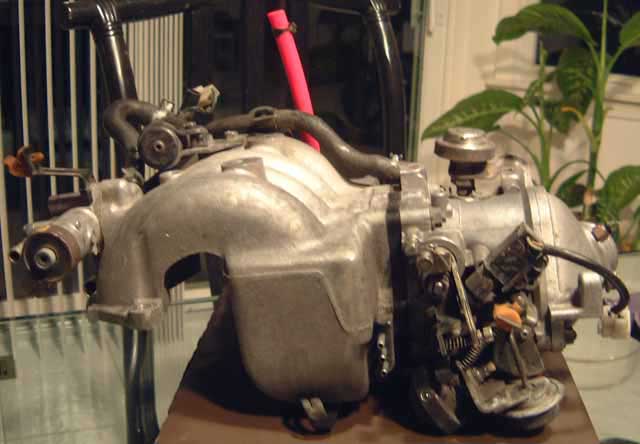
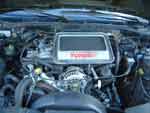
The UIM and throttle body removed from the car. Front view. The red vacuum hose sticking straight up goes to the intercooler.
You can see the three holes in front for the 3 front vacuum tubes. Right side there's a connector. On the left there's where
the coolant and heater hose go.
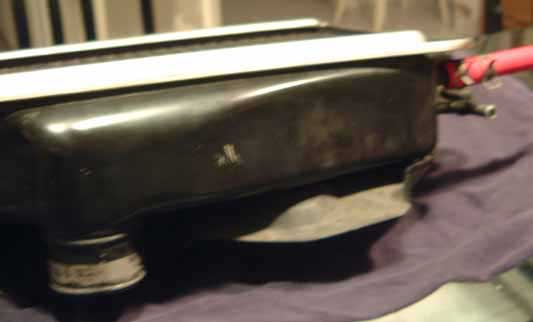
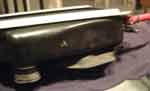
A view of the rear of the UIM. On the left is that big pipe that goes up to the intercooler. The hose at the bottom is that
90 degree coolant hose that is impossible to get off. The green/white thing is a one-way valve. There's the 3 holes for the
rear vacuum hoses. The hose that's poking off to the right has been rotated right. It usually points up. You can see where
the accelerator and cruise control cables go and the 2 screholes for the bracket that the cables attach to. The metal loop
thing on the right is for you to grab. I never used it much.
Step-By-Step Guide
|
|
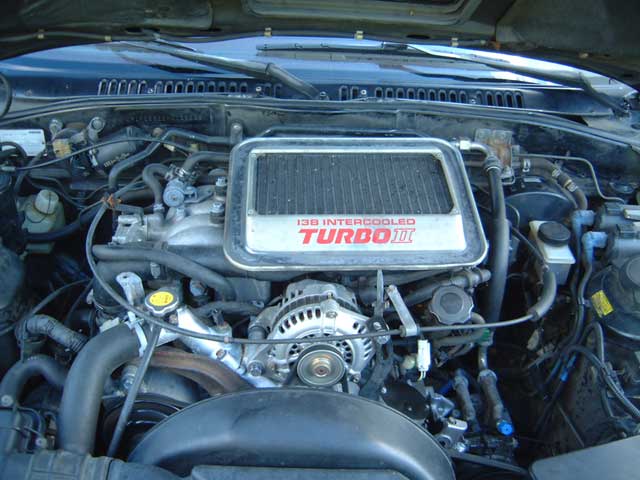
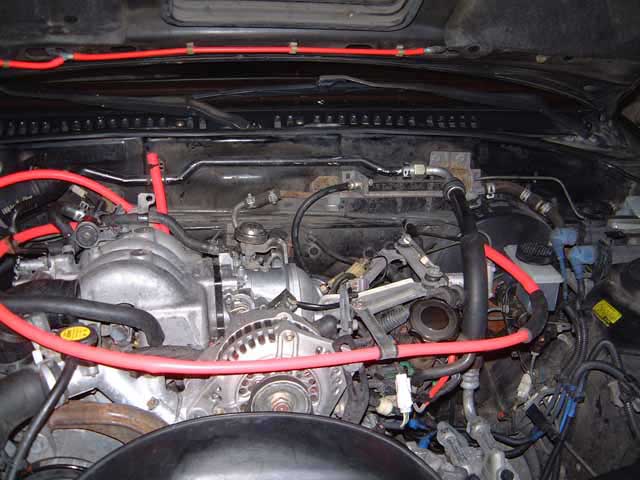
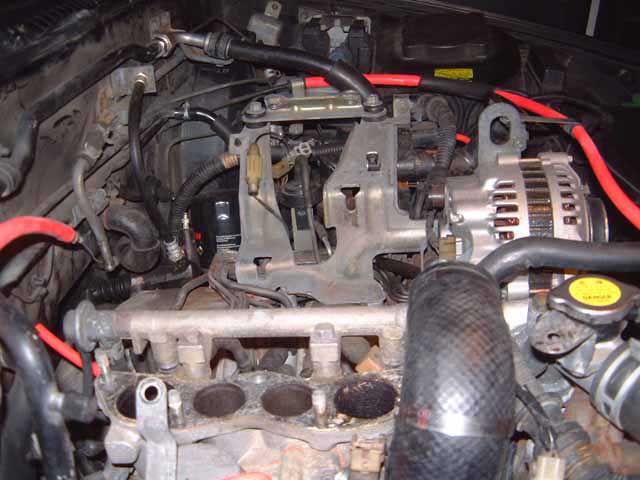
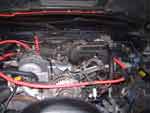
Shot of the engine bay. First to be removed is the intercooler.
|
|
|
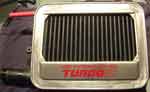
A shot of the intercooler removed from the engine. There are four bolts holding it down, 2 on either side. There is a big
pipe on the bottom left. Upper left there's 2 vacuum hoses. Upper right there's another big pipe, going straight down.
|
|
|
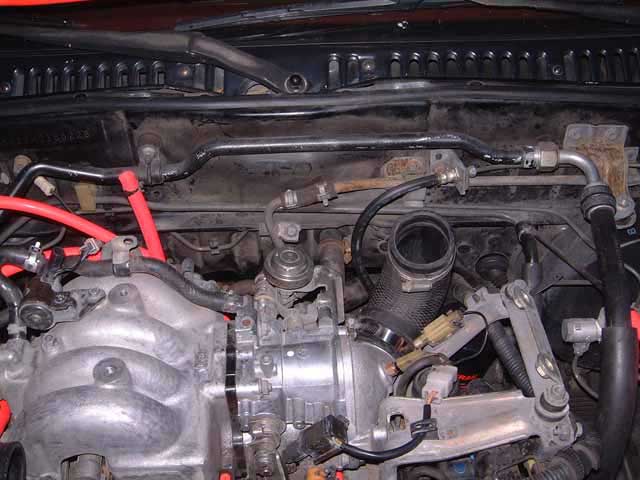
In this rear shot you can see where the two vacuum hoses are (one of them's still attached to the intake manifold). Then
there's that pipe that goes straight down.
|
|

|
That big pipe in the back there I removed. Gives me more room to work, and a gripping spot later to remove the UIM.
|
|
|
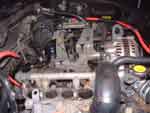
So here's the UIM. Time to get cracking.
|
|

|
Start off with removing connectors A and B (I gave them letter names to keep track of them more easily). It's just a plastic
lock thingy. I just used my pliers to push down on them and they unlock real easy.
|
|
|
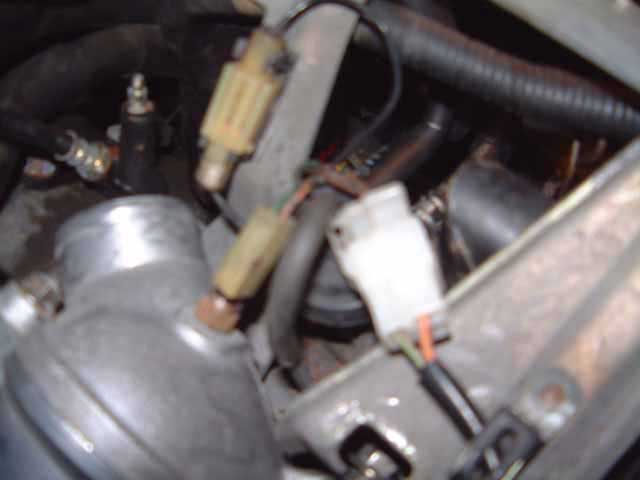
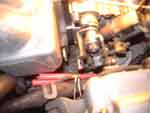
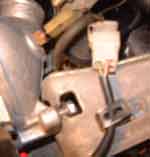
You can see connector C there. Also, there's the coolant hose you can remove now. The thicker hose (heater?) you "slip"
off as you lift up the UIM. Mine cracked, so here's my temporary silicon replcement.
|
|
|
D connector.
|
|
|
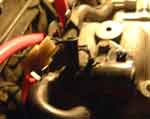
You can see the 3 vacuum hoses I removed. They're usually old and bent in shape, but I just replaced them. Then that little
thing next to it, which you see looks like a straightened paper clip. Just undo it and slip it off. I taped it to that coolant
hose while removing my UIM just to make sure I didn't lose it.
|
|
|
Accelerator cable and cruise control cable. The accel I just slipped right off, while the cruise control was a different
design. Plastic snap off thing, pretty easy to deal with. You can then remove the bracket that attaches them to the UIM.
There's 2 screws.
|
|

|
3 vacuum hoses to remove. Make sure you label them. My top one I replaced. The other two I just left alone. One of the
hoses is thicker than the other ones, so you probably won't mess that one up when putting it back, but label it just in case.
|
|

|
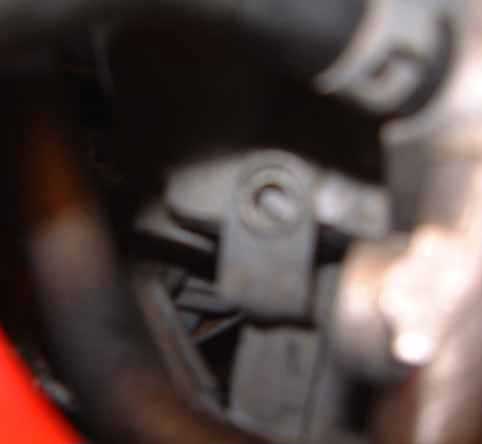
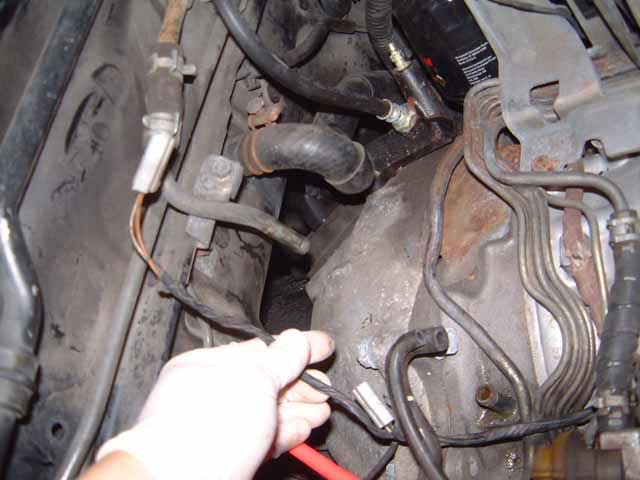
Here's the rear hose removed. Looking at it from the driver's side. It might be kind of stuck, so just slowly work at it
and it'll come off.
|
|
|
There's that long bolt you need to remove.
|
|

|
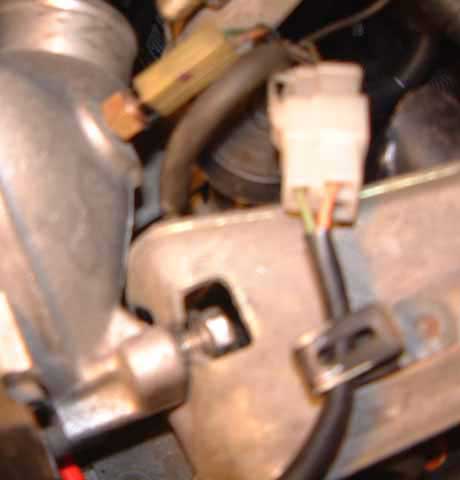
Remove the four nuts, then pry this thing up a little bit.
|
|
|
Connectors A and B should already be removed. Slip off that black vacuum hose, and there's enough room for you to slip in
a socket wrench there. You'll not only have to loosen it, but also give it enough room so that it can maneuver its way out.
|
|
|
This is what it looks like when it's all the way off, so don't give up. Slowly pry the thing up. Not too rough, or you might
damage the poor gasket. There's a thingy you can grab on the passenger's side, near the wall. You can also grip the big
hose opening on the driver's side. On the passenger's side, I just lifted up a bit where the secondary fuel rail is and slide
a long screwdriver under there. Patience!
|
|
|
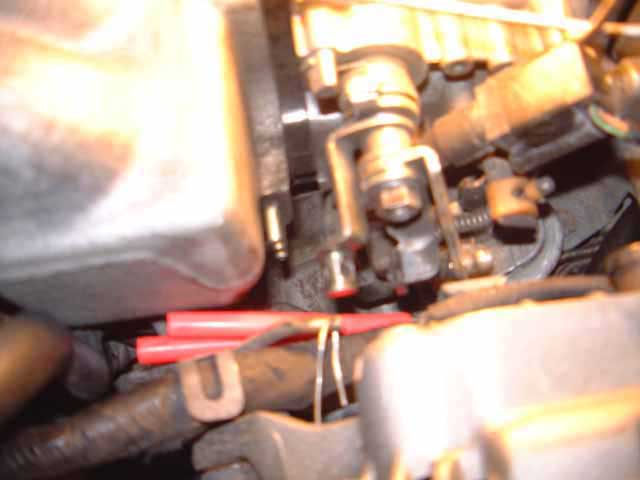
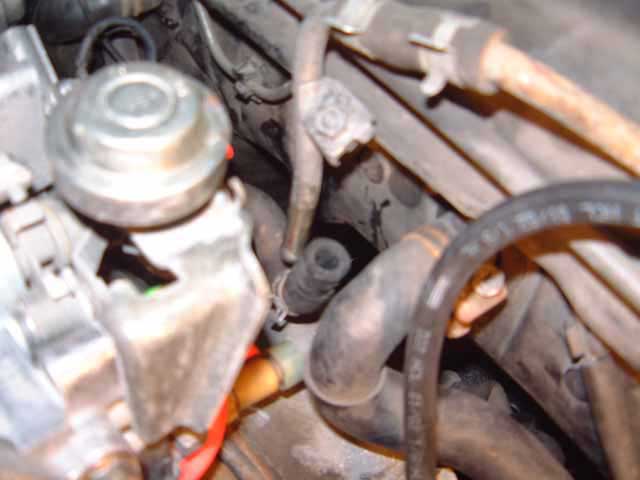
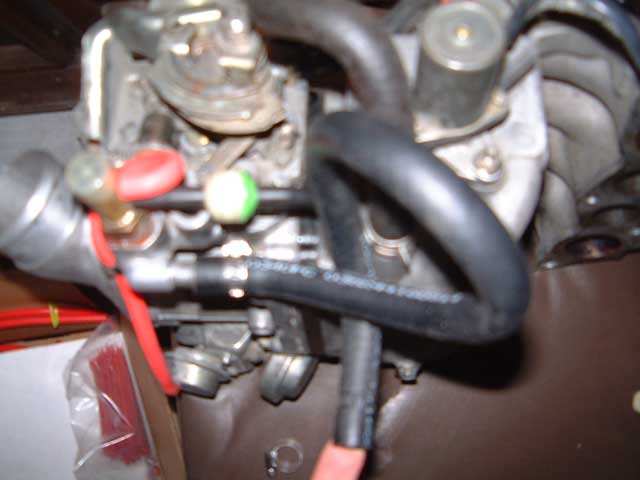
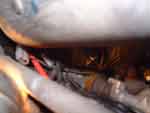
About when you get it this far up, it'll stop going. You can feel how it's something kinda bendy holding it. That's the
vacuum hose. Very short little bugger. Probably very stuck if it's your first time removing the UIM. If it's really stuck,
you might have to slice it off and buy a replacement hose. The clamp is almost impossible to get off since there's no room
to work down there. People usually replace them with screw thingies.
You can also see connector E there on the left. It's been unfastened. Once your hose is off, it's pretty easy to get
to E.
|
|
|
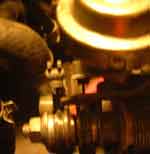
So this is what it looks like once your UIM is off. There's connector D and E, both on the same wire. E is hard to get to,
so I usually leave it for very last (after removing 90 degree coolant hose). Then it's real easy. You can also see where
the coolant hose connects to the engine.
|
| |
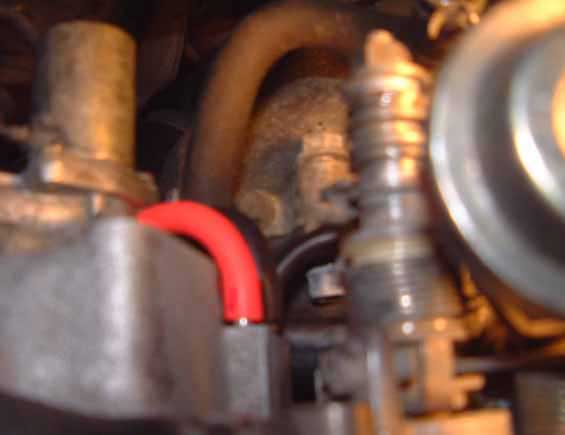
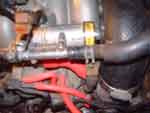
I replaced my coolant hose (which I had sliced up) with a 3/8" fuel line shaped in the following manner:
replacement hose
Because it's so long, I can lift the UIM up for plenty of working space. But it also fits perfectly into place when you lower
down the UIM. An ingenious design that my dad came up with.
|
|

|
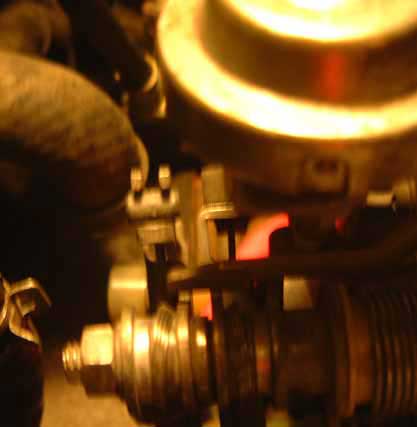
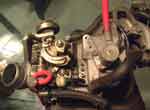
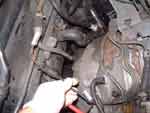
A shot of my ingenious 90 degree coolant hose solution in real life. This is the view from the back. More props to my dad,
who is an engineeering genius.
|
|